DRLs date back to Northern Europe in the 1970s, where long, dark winters and heavy snow, fog pushed governments to require them on new cars. Early versions used halogen bulbs, which consumed a lot of energy, had short lifespans, and weren’t very attractive, some automakers just used low beams or dimmed high beams to save costs.
The real turning point came in 2011, when the EU mandated DRLs on all new vehicles, backed by evidence that DRLs significantly reduced accidents, by 12.4% in vehicle incidents and 26.4% in fatal crashes.
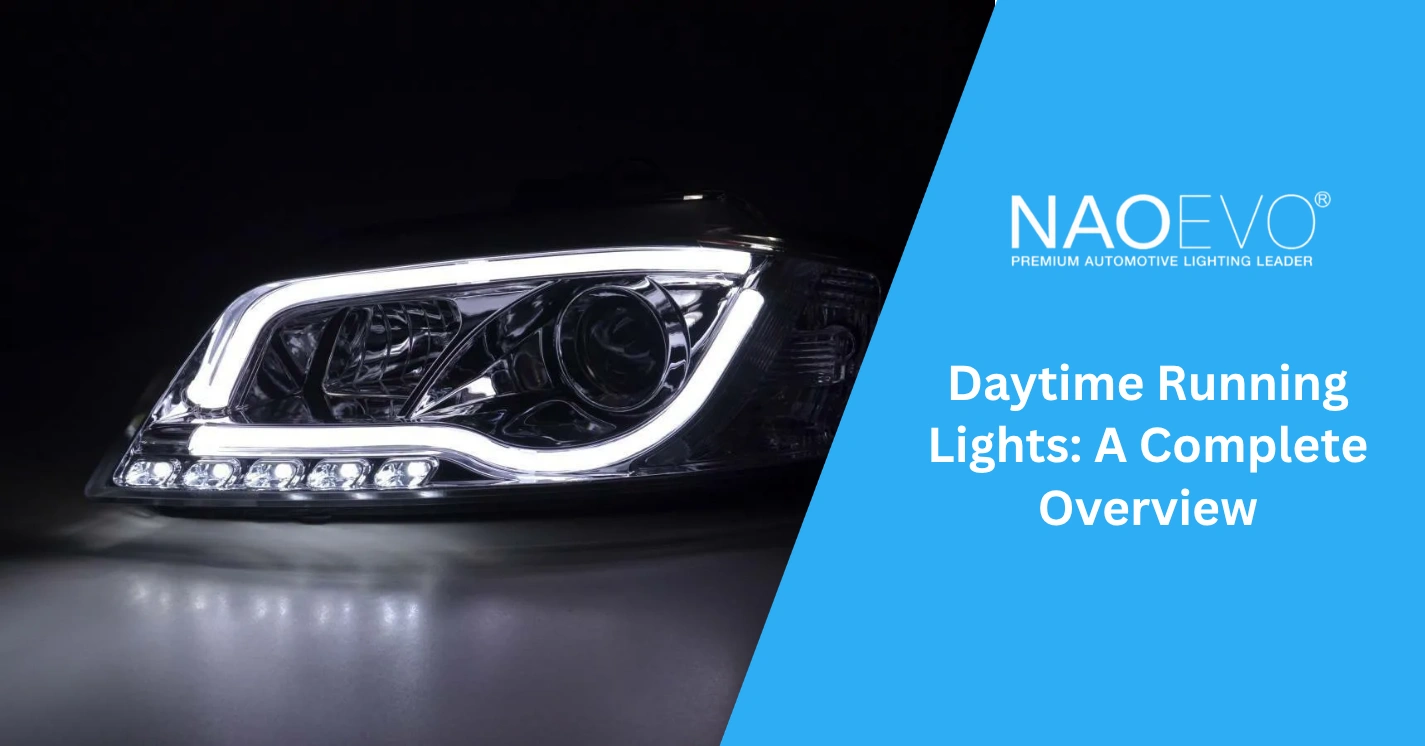
But Audi made DRLs famous. After introducing LED technology on the A8 in 2004, their striking designs on the R8 and A4 turned DRLs into a style icon. LEDs offered key advantages, smaller size, flexible shapes, lower energy consumption, and longer life.
Today, DRLs have evolved from luxury-car exclusives to common features on mainstream models, with even more innovations ahead.


 WhatsApp